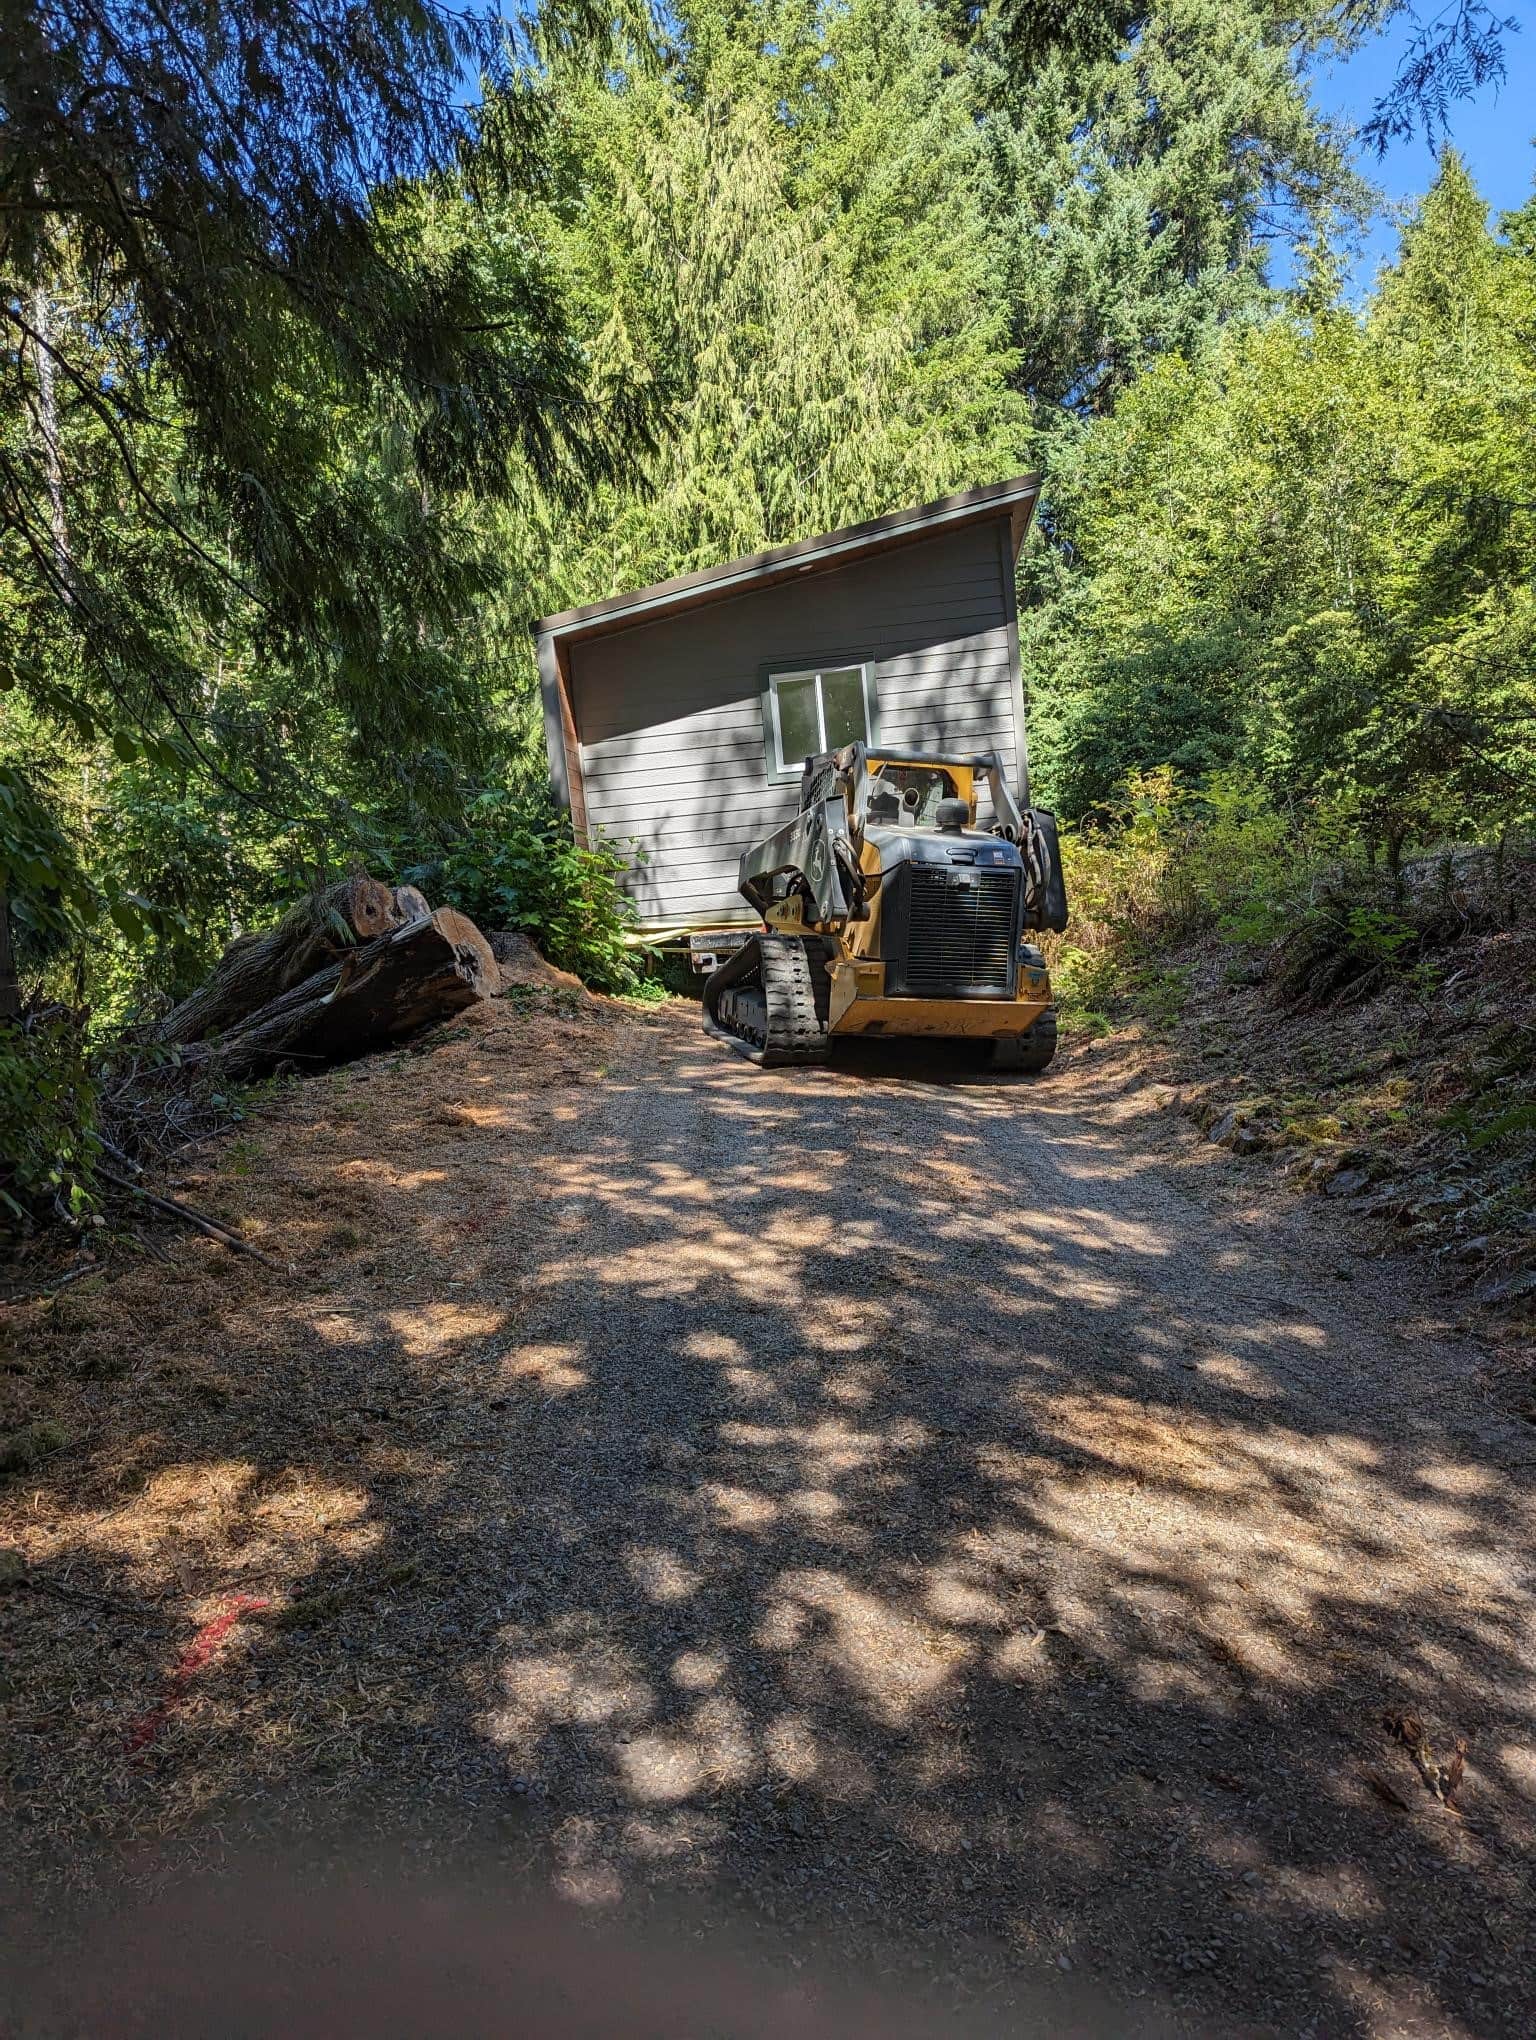
The final and most exciting step in adding a modular, tiny home, or accessory dwelling unit (ADU) to your property is the setup and delivery. This is when your vision becomes a reality as the completed home is transported to your location. Our team of skilled field service professionals is dedicated to making this process as smooth as possible. From carefully navigating the delivery to ensuring everything is perfectly positioned and connected, we handle all the details.
With our commitment to excellence, you can rest assured that your modular, tiny home, or ADU will be installed with precision and care, ready for you to enjoy right away.
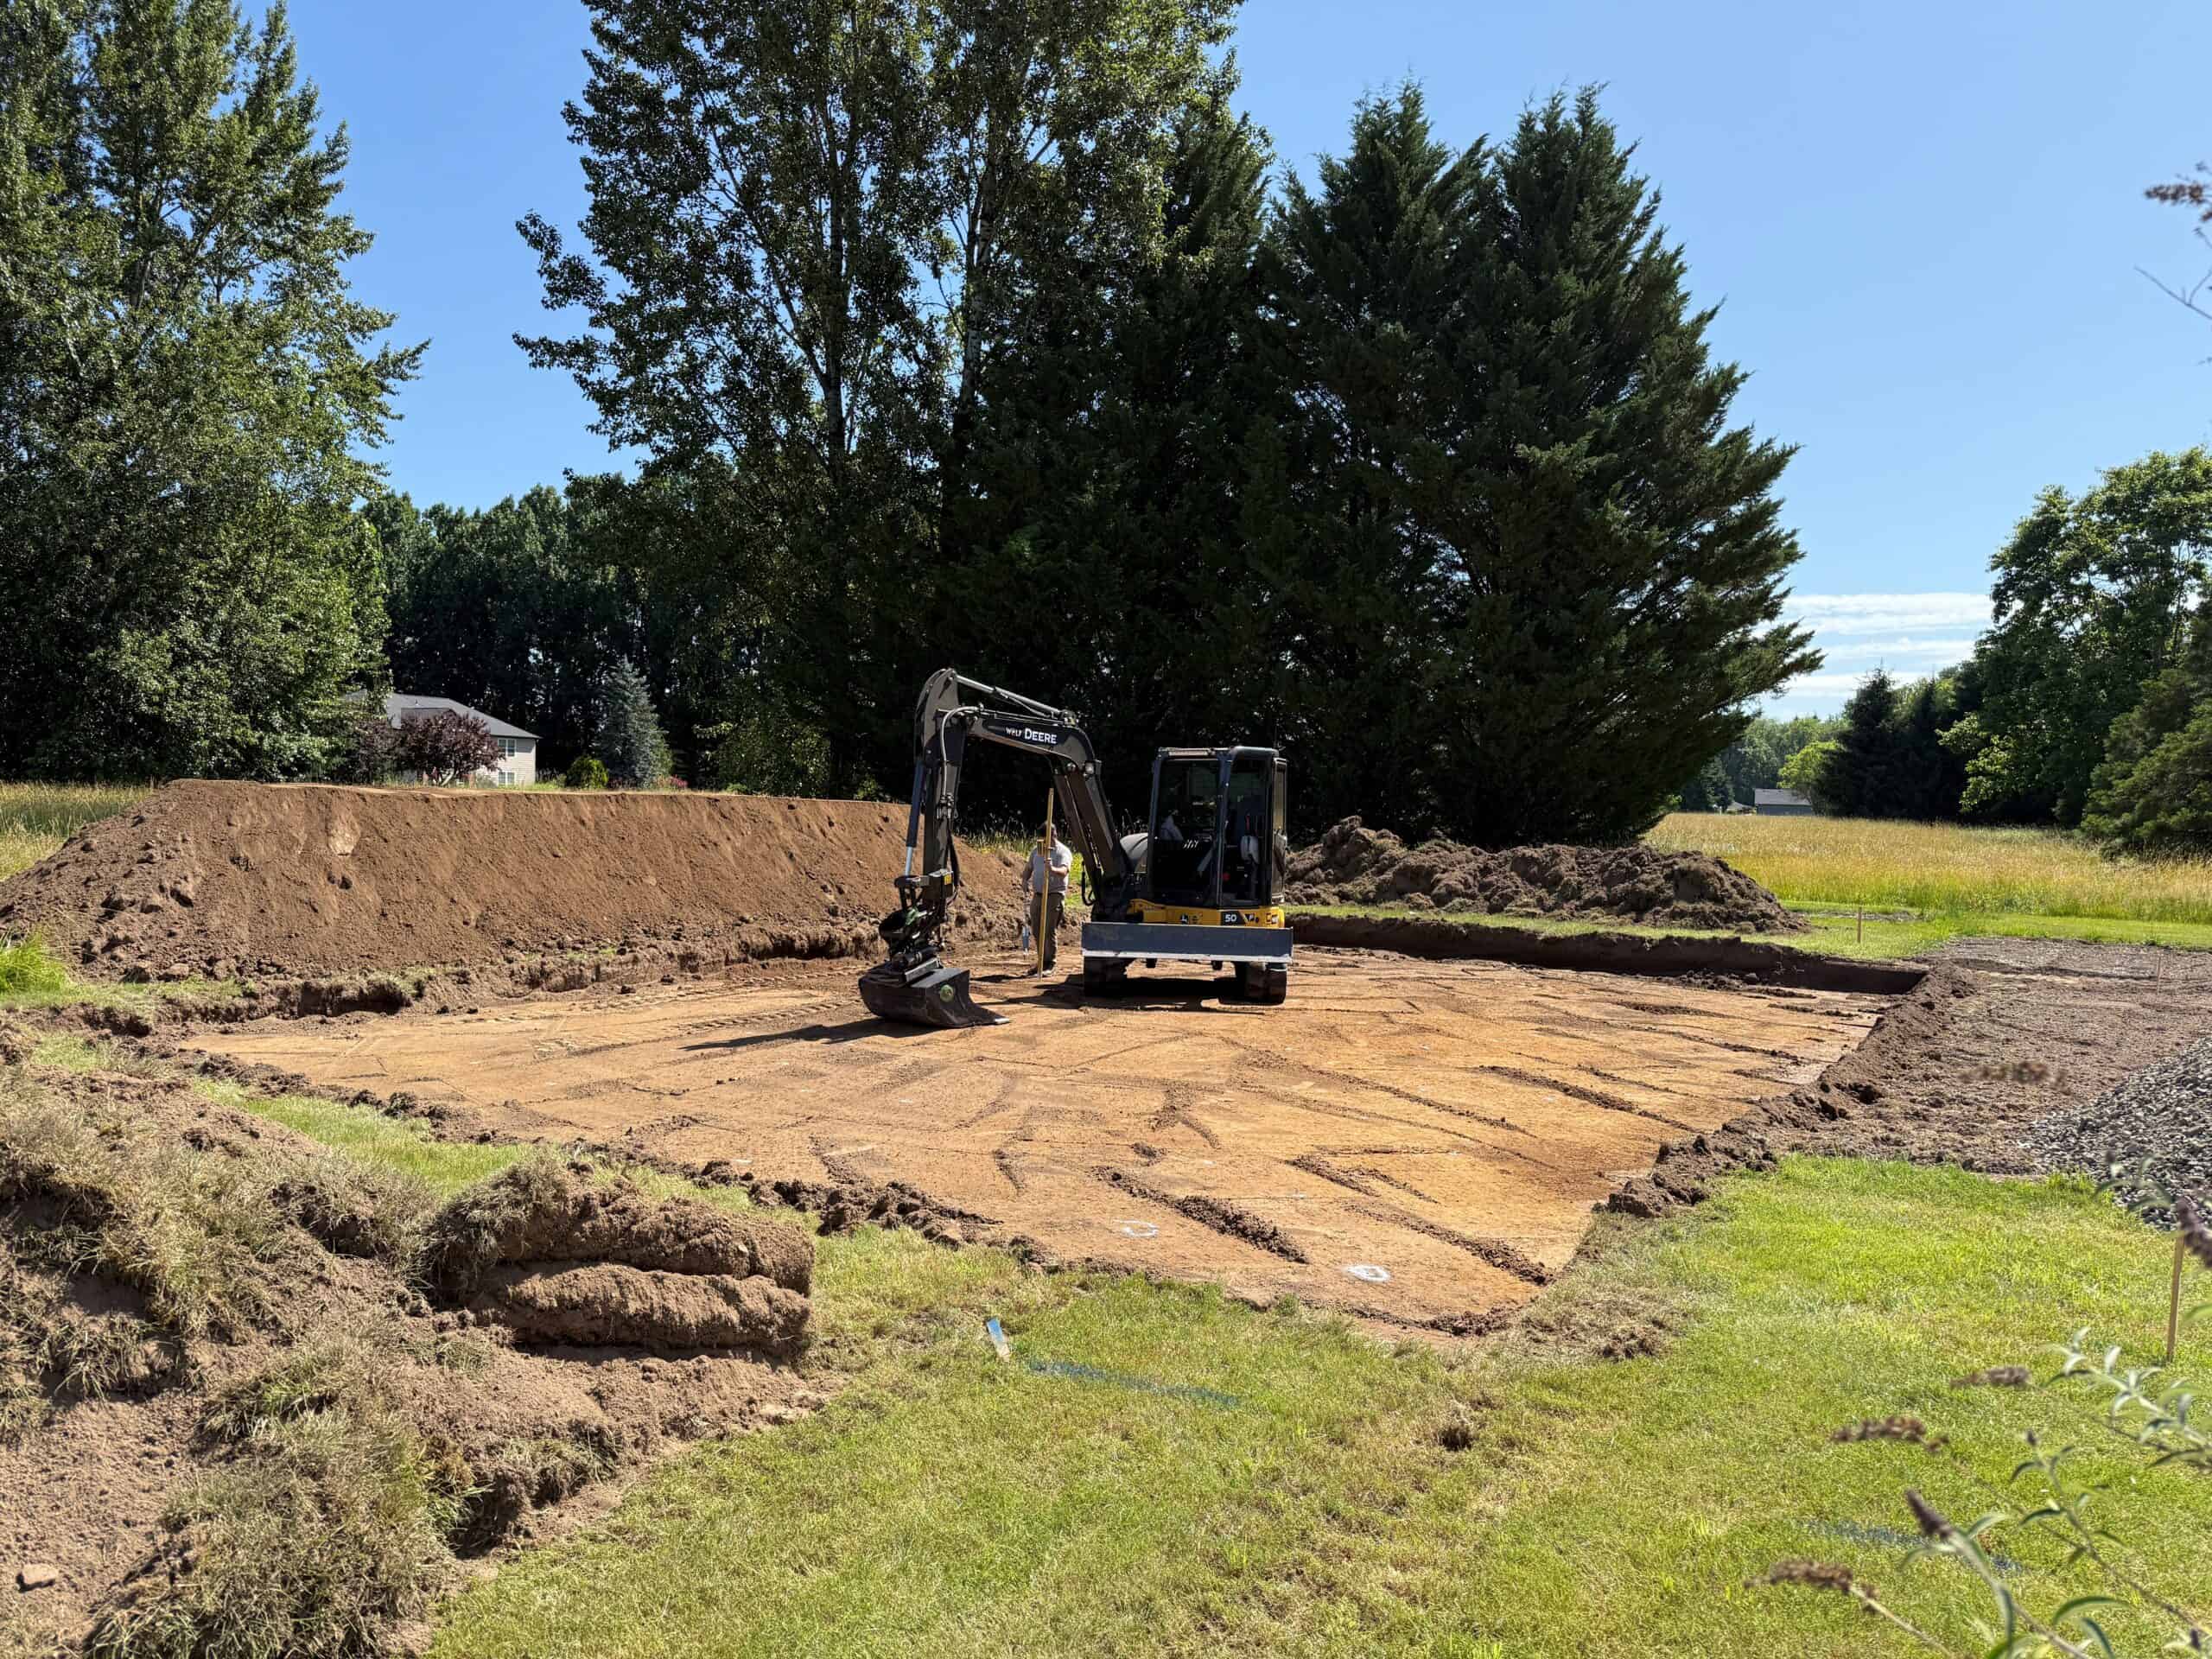
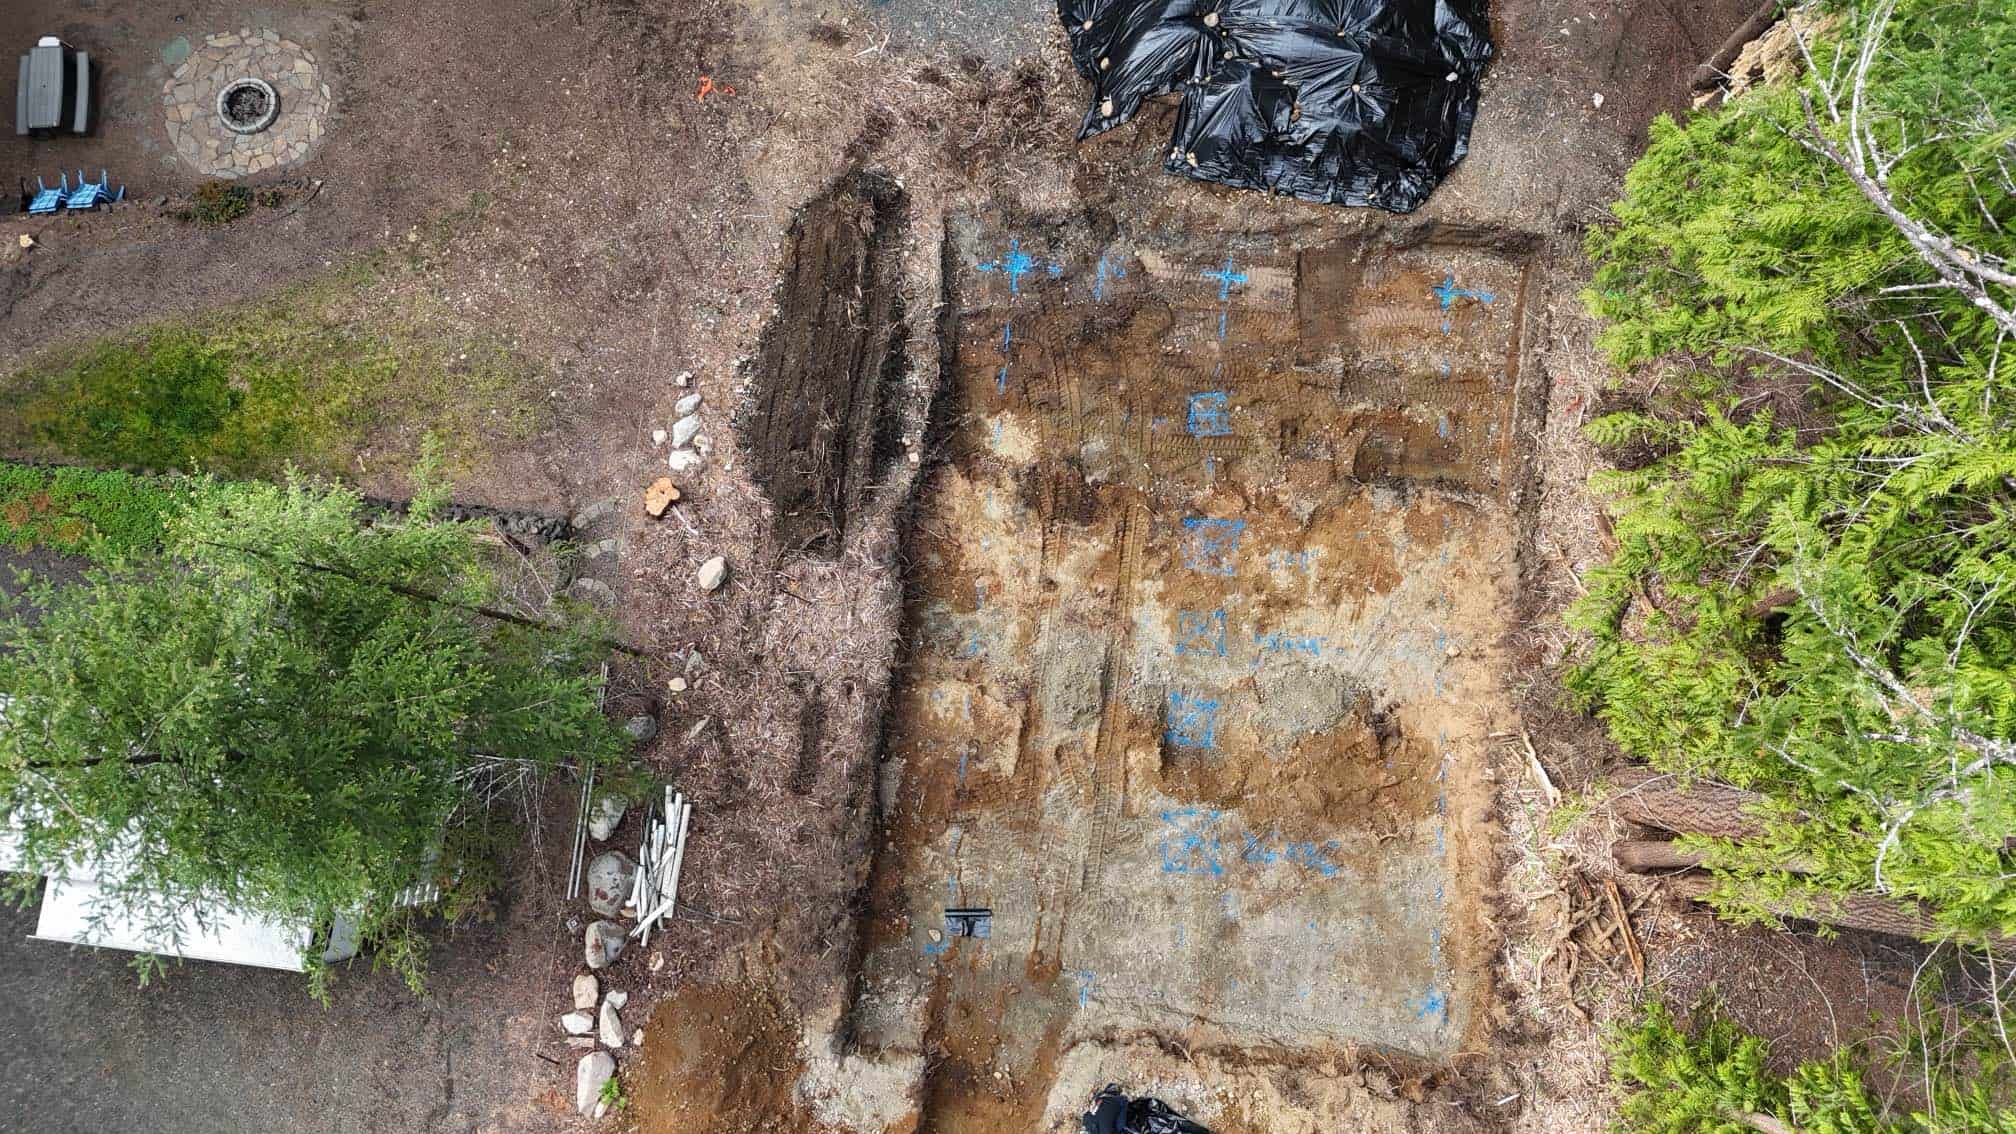
When it is time to begin site work, someone from the Field Team will reach out to schedule the ISV. This is when they determine the exact project needs and Payment 5 – the 50% D&S Deposit is needed. You will also receive the D&S Expectations Letter, D&S Process Checklist, and the timeline.
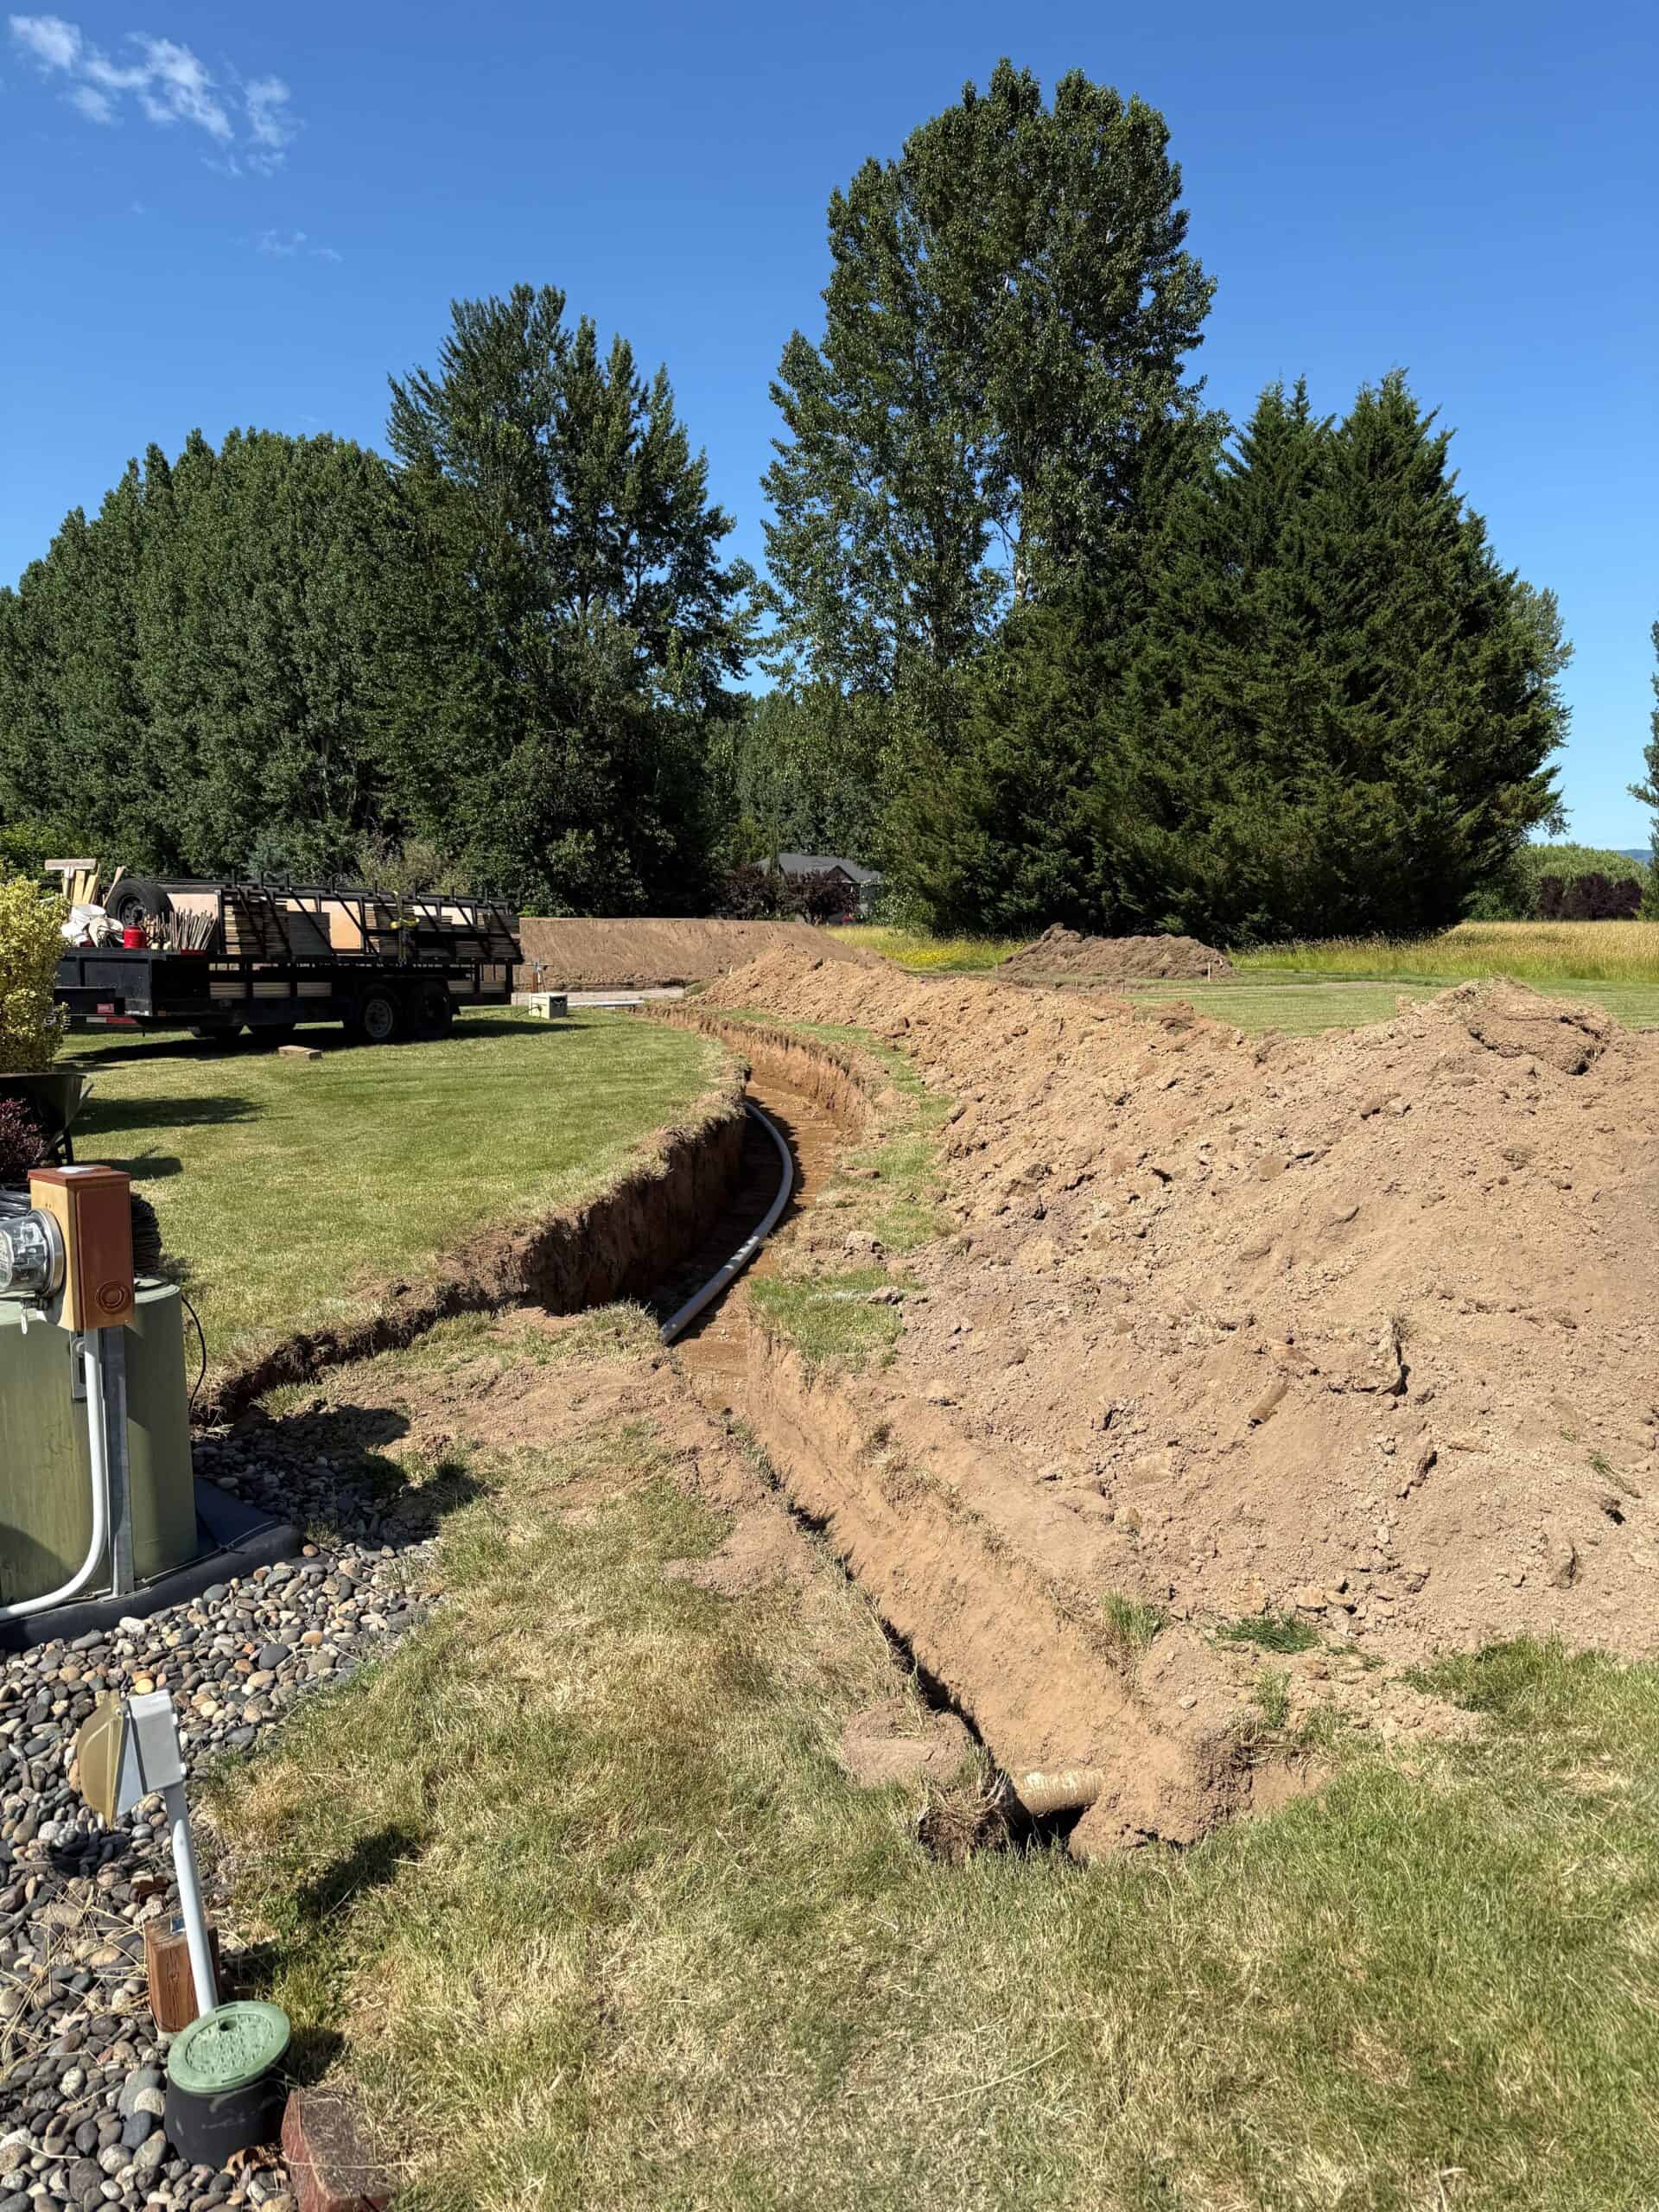
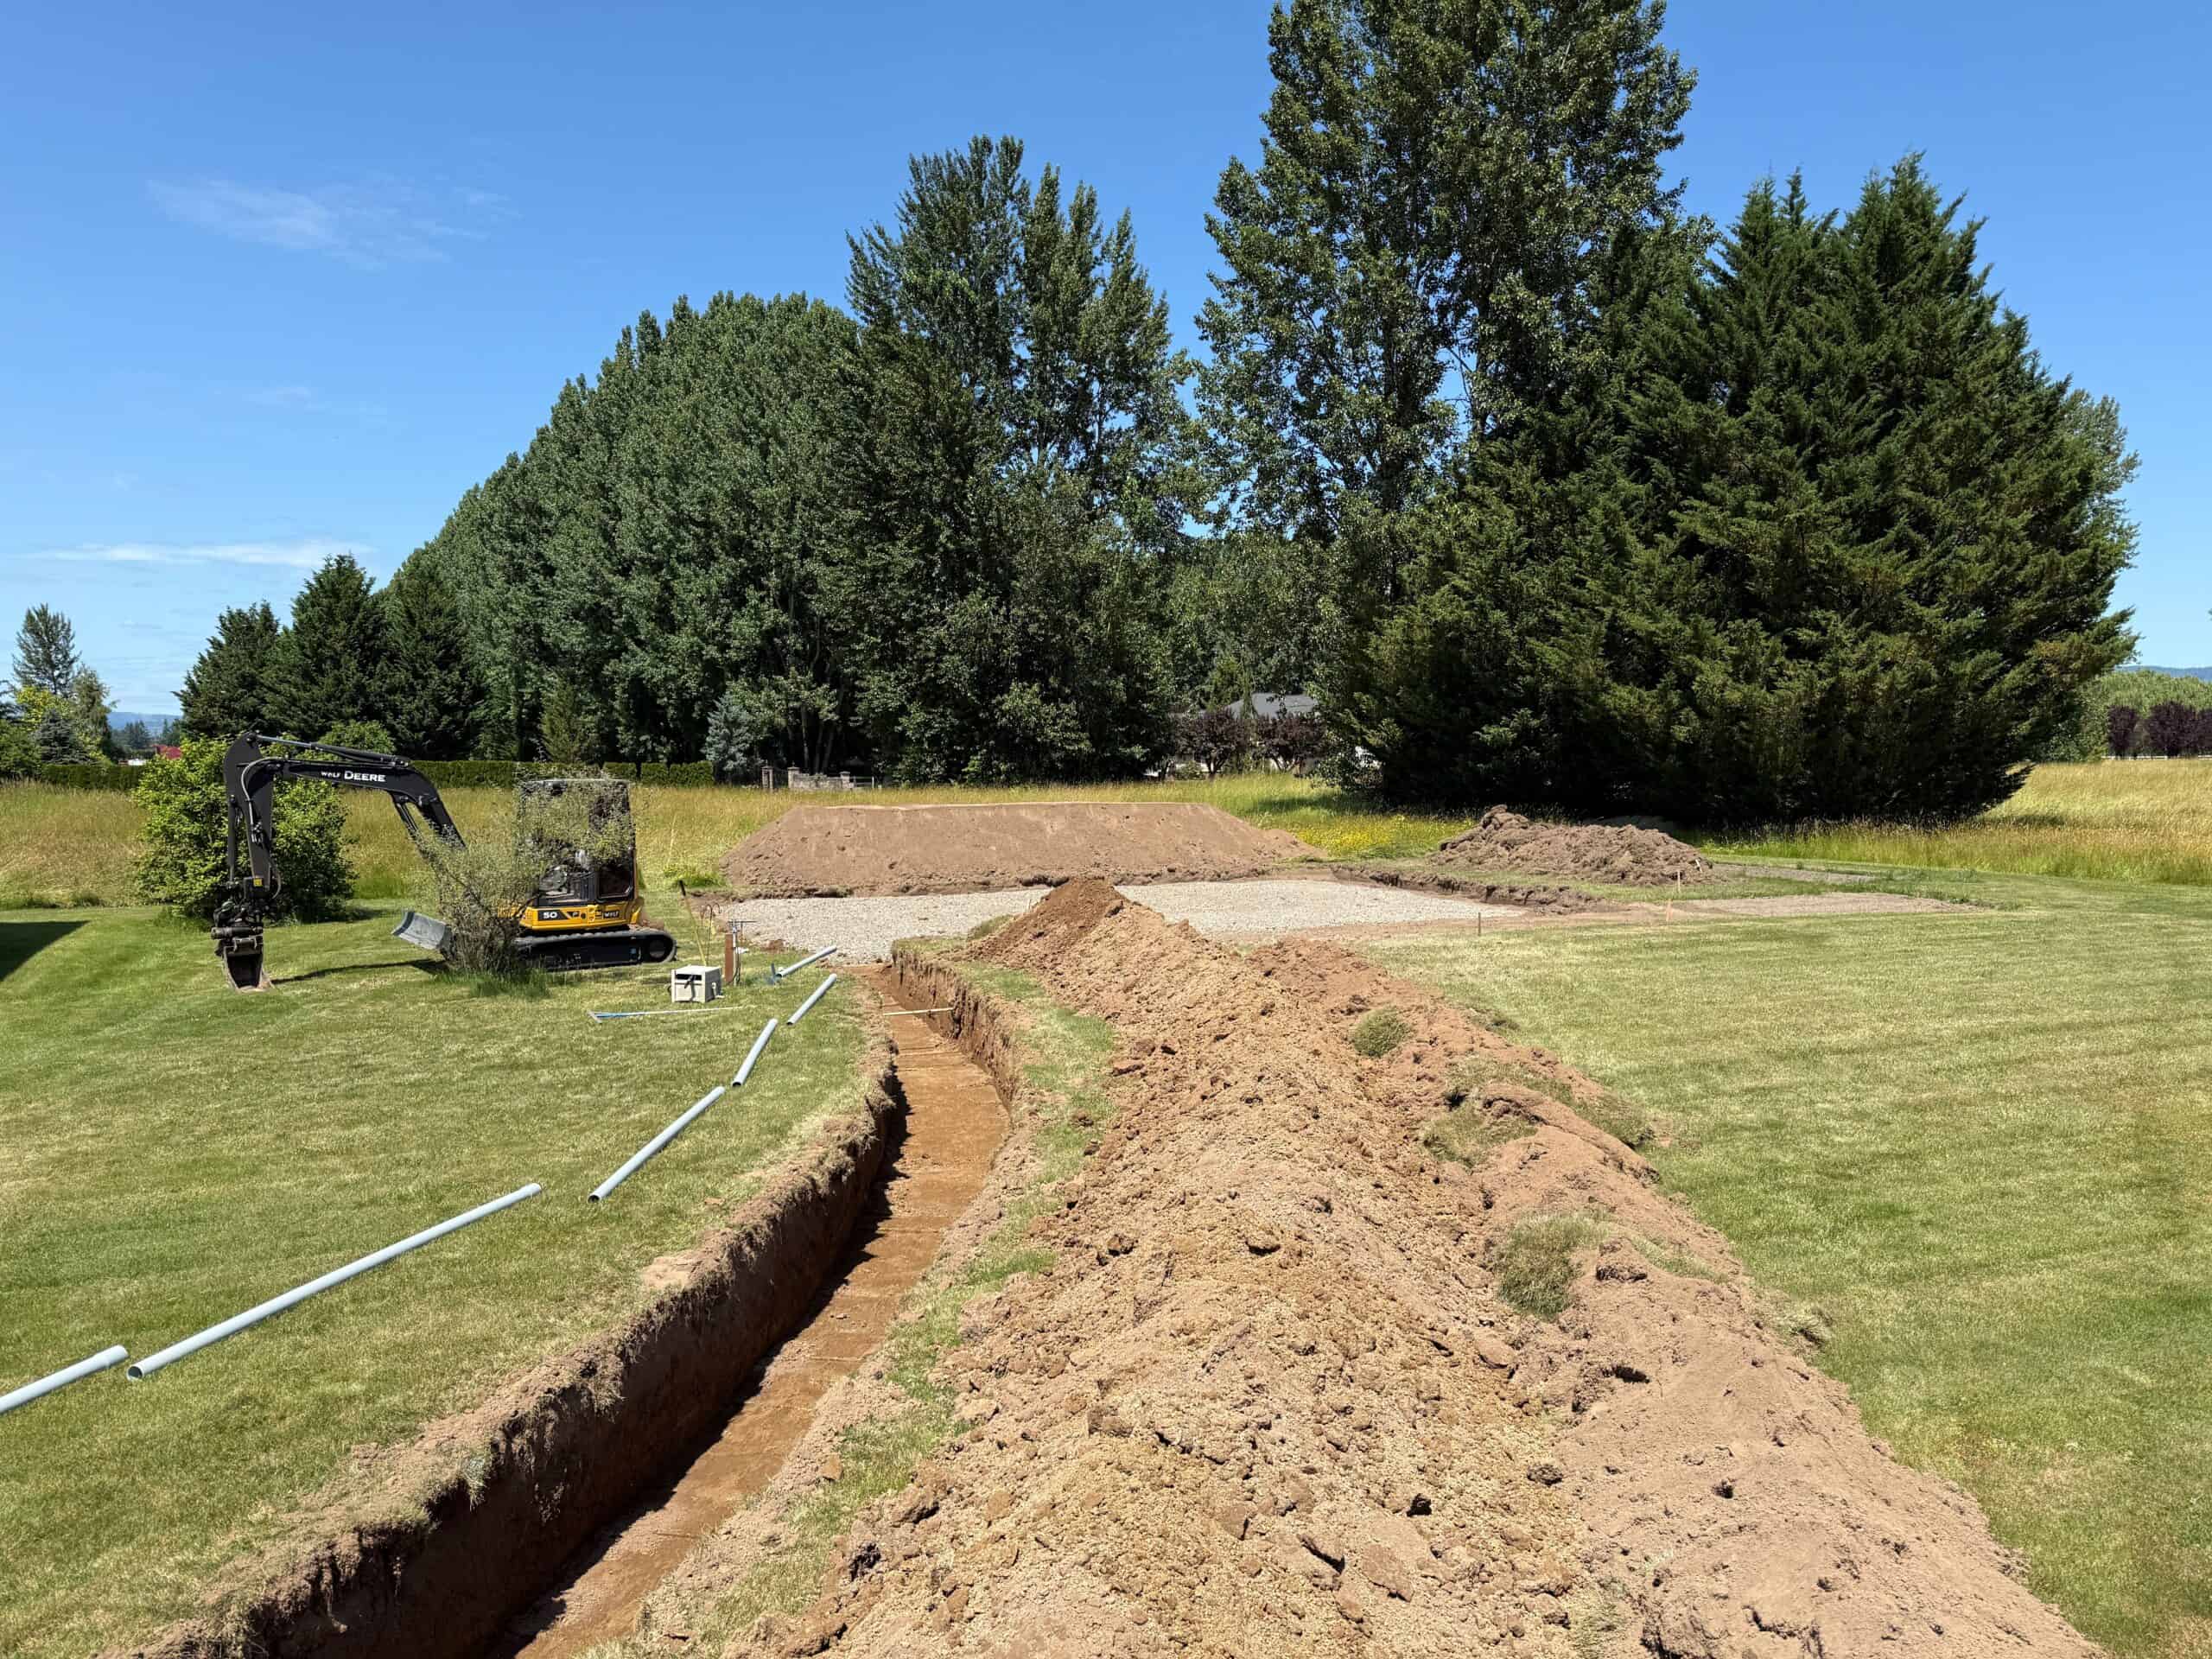
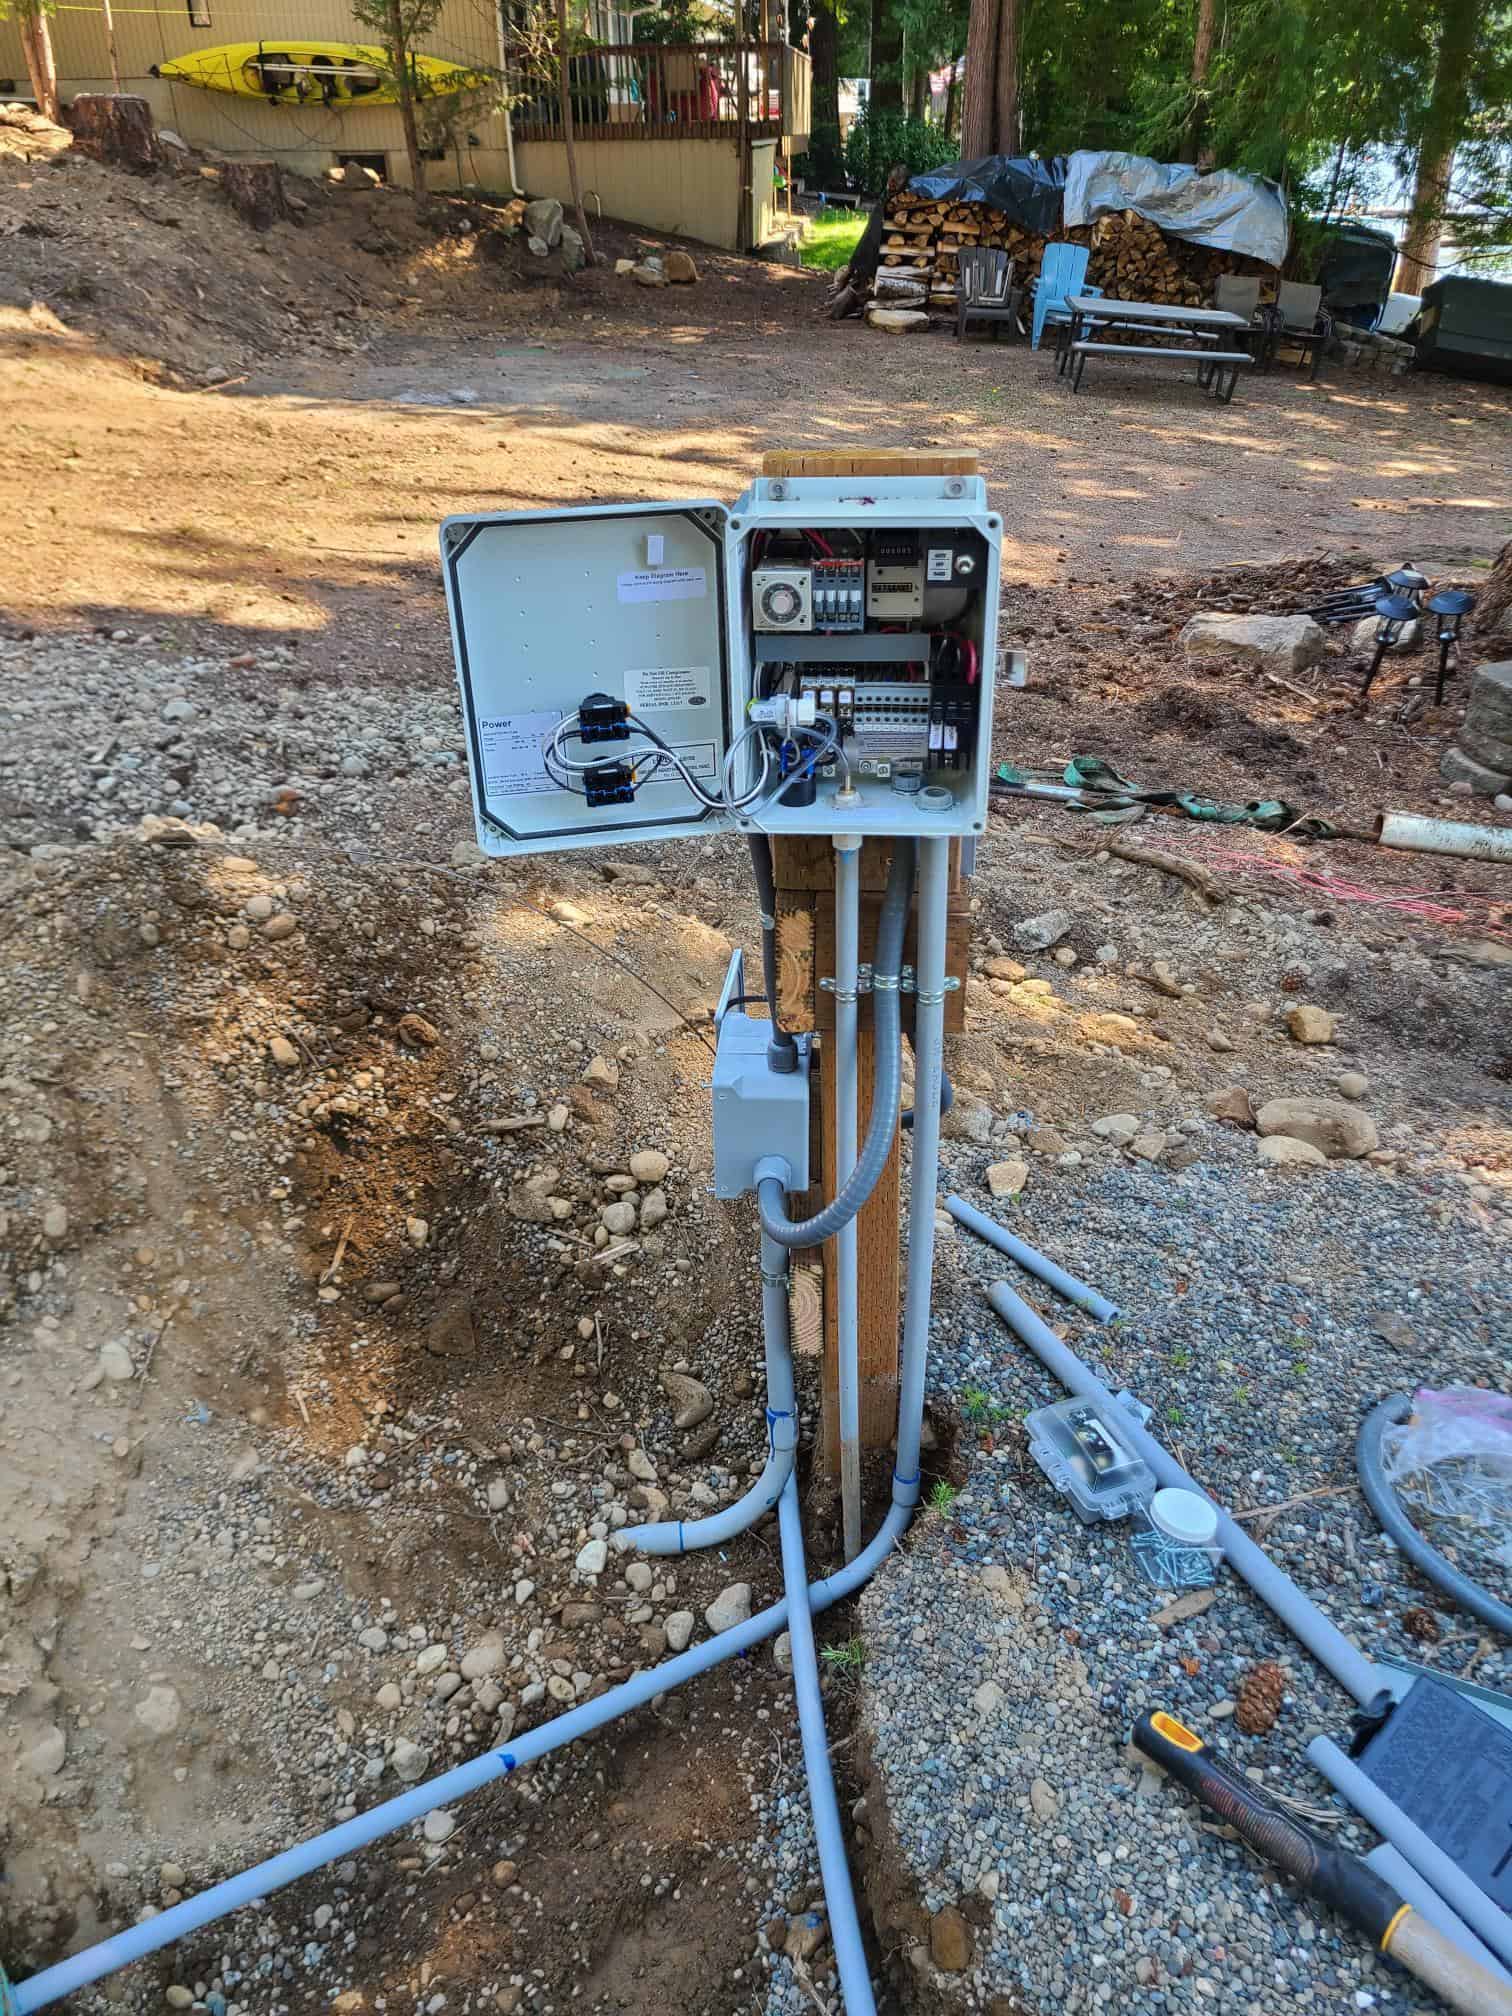
Once your house is placed, utilities are connected and tested, and the final inspection has happened, we do a walkthrough with you, and the last payment in the process is due – the 50% D&S closeout payment. We then hand you the keys to your new home! Congratulations! You now own a Wolf Industries Tiny Home!
Your project is now complete! We will give you a binder full of brochures, pamphlets, and instructions on how to take care of your new home. This also includes a 1-year warranty but as always, call with any questions!
(360) 912-9519
607 SE Eaton Blvd, Battle Ground WA 98604
Sales@Wolfind.com